
How to Reconstitute Peptides: Complete Step-by-Step Laboratory Guide
Lyophilization—or freeze-drying—is the standard method used by peptide synthesis laboratories to preserve the chemical stability and biological activity of fragile amino acid sequences. However, transforming a dry lyophilized cake into a viable liquid solution requires precise laboratory execution.
Learning how to reconstitute peptides is not just a matter of adding liquid to a vial. Peptides lack the rigid structural walls of larger proteins; their active tertiary conformations are vulnerable to thermal denaturation, mechanical shearing, enzymatic degradation, and bacterial contamination. A minor misstep—such as allowing a vacuum to slam diluent onto the lyophilized cake or agitating the vial—can fracture peptide bonds and render research invalid.
This guide provides a standardized, step-by-step operating procedure for reconstituting research peptides, selecting diluents, managing vacuum pressures, calculating concentrations, and maintaining post-reconstitution stability. If you want to check your calculations before preparing your vials, you can model your liquid volumes using our free Peptide Calculator.
Quick Summary: Peptide Reconstitution Protocol at a Glance
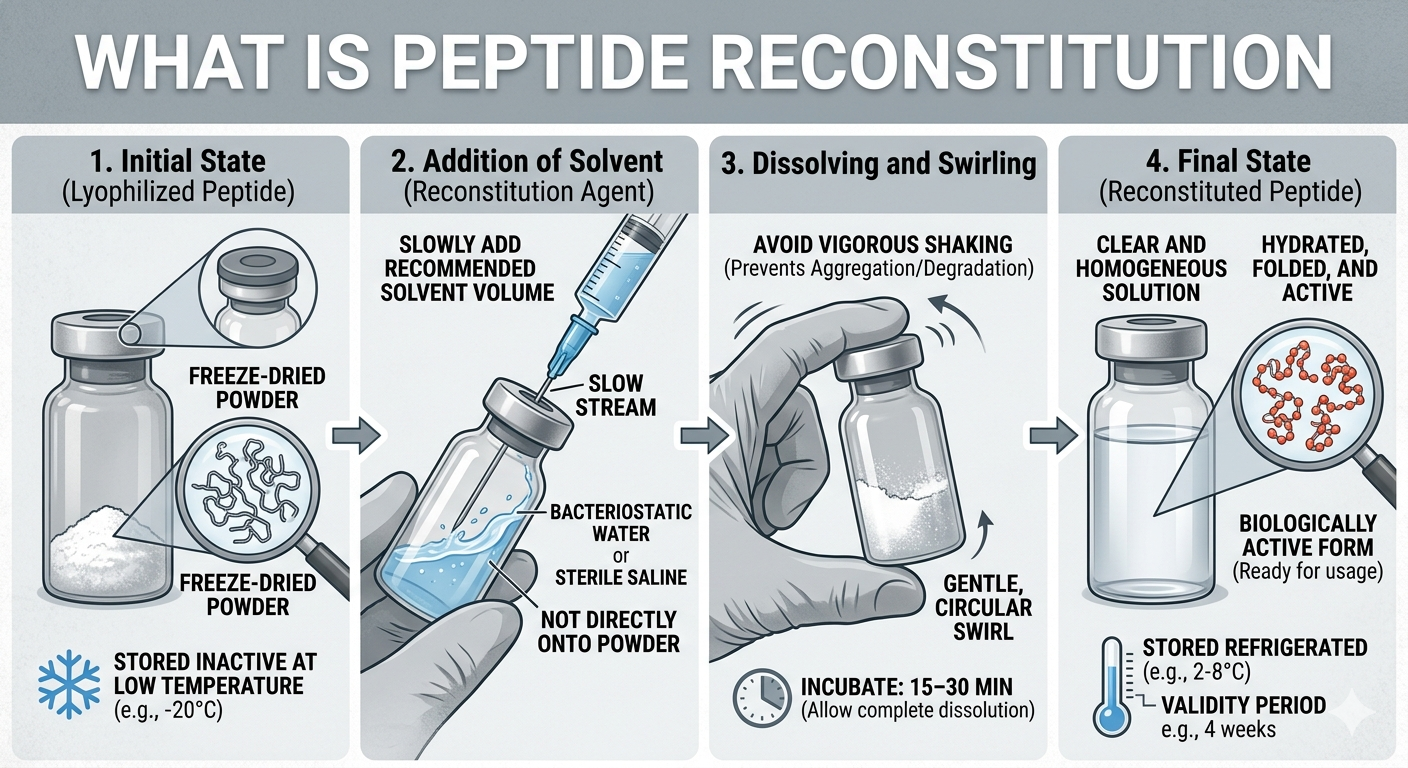
Quick Answer: To reconstitute peptides, bring the vial to room temperature, swab all stoppers with 70% alcohol, and smoothly inject pharmaceutical-grade bacteriostatic water down the inside glass wall of the vial. Never allow the vacuum to slam liquid onto the lyophilized cake, and never shake the vial. Gently roll between your palms until clear, then store refrigerated between 2°C and 8°C.
| Protocol Step | Critical Action | Primary Objective |
|---|---|---|
| 1. Temperature Equilibration | Allow frozen vial to sit at room temperature for 15–20 minutes | Prevents condensation moisture from causing hydrolytic peptide cleavage |
| 2. Septum Asepsis | Swab rubber stoppers with 70% isopropyl alcohol; let dry completely | Eliminates microbial contamination before needle entry |
| 3. Controlled Liquid Transfer | Aim needle at a 45-degree angle against inner glass wall; hold plunger | Avoids mechanical shearing of delicate tertiary peptide backbones |
| 4. Gentle Solubilization | Slowly roll or swirl between palms; never shake or vortex | Preserves structural protein folding while achieving uniform dissolution |
| 5. Cold-Chain Storage | Refrigerate immediately at 2°C to 8°C in a light-shielded case | Maintains solution stability throughout 28–30 day testing cycle |
Required Laboratory Equipment & Supplies
Before initiating reconstitution, ensure that all necessary tools and sterile consumables are assembled in a clean, sanitized workspace:
- Lyophilized Peptide Vial: Intact vacuum-sealed glass vial containing the target compound cake (e.g., 5 mg or 10 mg).
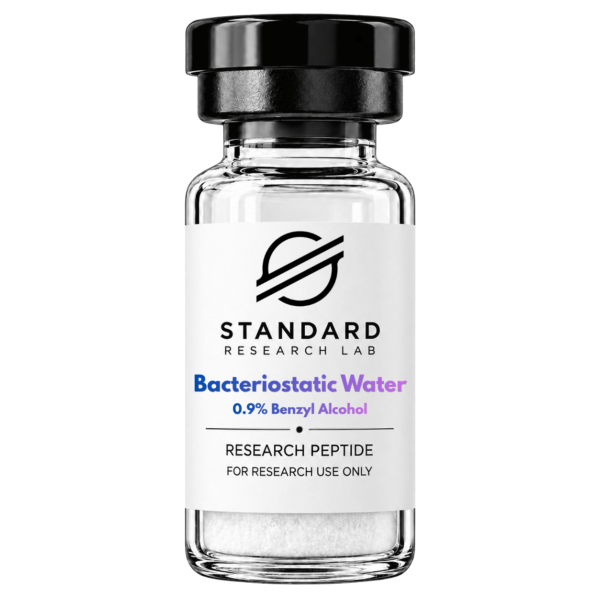
- Reconstitution Diluent: Pharmaceutical-grade Pfizer Hospira Bacteriostatic Water (sterile water with 0.9% benzyl alcohol) or 0.9% Sterile Bacteriostatic Saline.
- Measurement & Transfer Syringes: Calibrated, low dead-space syringes, such as sterile EasyTouch 31G Syringes for precise volume draws or larger 3 mL mixing syringes for multi-milliliter transfers.
- Sterile Alcohol Prep Pads: 70% isopropyl alcohol wipes for decontaminating vial septums and working surfaces.
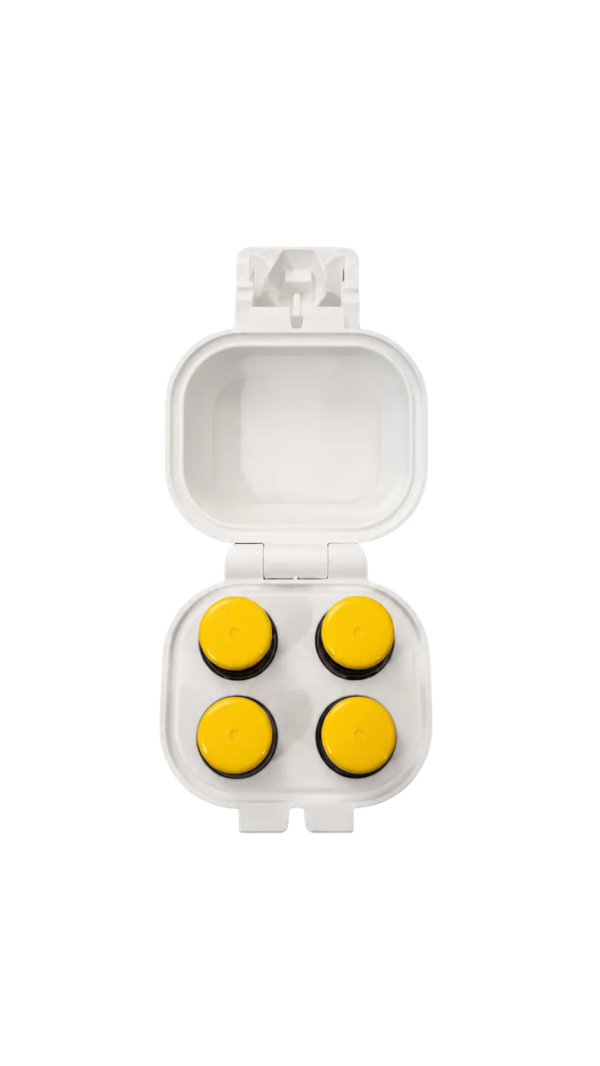
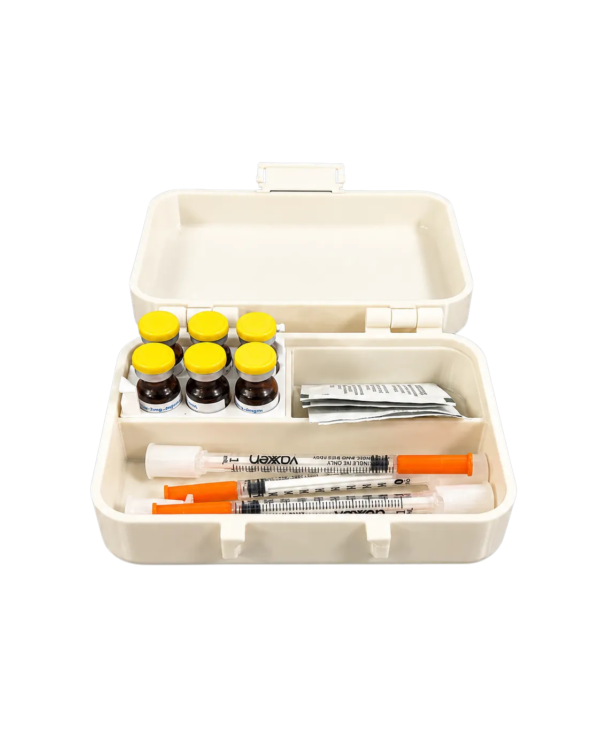
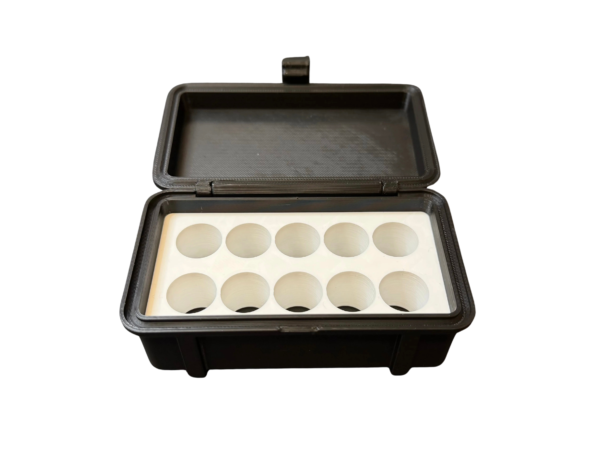
- Light-Shielded Cold Storage: Dedicated refrigeration unit maintained at 2°C to 8°C, ideally equipped with a vibration-dampening Peptide Vial Case or insulated Compact Travel Case.
Diluent Selection: Bacteriostatic Water vs. Sterile Water vs. Saline
Selecting the correct reconstitution liquid depends on whether the study calls for a single-use evaluation or repeated sampling across multiple days:
| Diluent Type | Composition | Primary Laboratory Utility | Vial Shelf-Life After Reconstitution |
|---|---|---|---|
| Bacteriostatic Water (BAC) | Sterile water + 0.9% benzyl alcohol | Multi-entry sampling; prevents microbial proliferation during repeated septum punctures. | 28 to 30 days refrigerated (2°C to 8°C) |
| Bacteriostatic Saline | 0.9% NaCl + 0.9% benzyl alcohol | Multi-entry research requiring strict physiological osmolarity and isotonic cellular conditions. | 28 to 30 days refrigerated (2°C to 8°C) |
| Plain Sterile Water (H2O) | Sterile, non-pyrogenic water | Single-use immediate testing; contains no preservative to prevent bacterial replication. | Must be analyzed or frozen within 24 hours |
| Acetic Acid (0.1% to 1%) | Dilute sterile acetic acid solution | Used specifically for dissolving highly basic or hydrophobic peptide sequences (e.g., IGF-1 LR3). | Varies by specific research protocol |
Standard Step-by-Step Reconstitution Protocol
Execute the following five-step process under aseptic conditions to safeguard the molecular integrity of the peptide:
Step 1: Environmental Preparation & Temperature Equilibration
Thoroughly disinfect your work surface with 70% isopropyl alcohol. If your lyophilized peptide was stored long-term at -20°C, allow the sealed vial to come to room temperature (approximately 15 to 20 minutes) prior to uncapping. Opening or puncturing a freezing cold vial exposes the dry cake to atmospheric condensation, introducing moisture that can accelerate hydrolytic degradation.
Step 2: Aseptic Decontamination of Septums
Pop off the protective flip-cap of both the lyophilized peptide vial and the bacteriostatic water vial. Firmly swab the rubber stoppers using a fresh 70% isopropyl alcohol prep pad for at least 5 to 10 seconds. Allow the rubber septums to air-dry completely; inserting a needle through wet alcohol can introduce solvent traces directly into the vial.
Step 3: Drawing the Diluent
Using a sterile syringe, draw back air equal to your intended diluent volume (for instance, 2.0 mL of air for 2.0 mL of fluid). Invert the bacteriostatic water vial, insert the needle through the center of the rubber stopper, inject the air to equalize the vial's internal pressure, and smoothly withdraw the measured volume of diluent. Inspect the barrel to ensure no air bubbles are distorting your volume measurement.
Step 4: Controlled Liquid Transfer & Vacuum Management
Most synthesized peptides are packaged under a negative pressure vacuum. If you puncture the rubber stopper straight down without resistance, the vacuum will yank the plunger downward, blasting the diluent into the lyophilized cake and shearing fragile peptide bonds.
To prevent mechanical damage:
- Hold the syringe plunger firmly with your thumb to counteract the internal vacuum pull.
- Insert the needle at a 45-degree angle, aiming the bevel toward the inside glass perimeter of the vial.
- Release the plunger gradually, allowing the diluent to trickle slowly down the glass wall rather than spraying directly onto the powder cake.
Step 5: Gentle Solubilization (Never Shake)
Once the diluent is transferred, gently withdraw the syringe. If pressure remains inside the vial, briefly insert an empty syringe to equalize the atmosphere.
Never shake, rattle, or vigorously vortex the vial. Violent agitation introduces shear stress that fractures peptide secondary and tertiary folding patterns. Instead, slowly roll the vial between your palms or gently swirl it in circular motions until all white cake residue has dissolved into a completely clear, transparent solution.
Reconstitution Mathematics & Concentration Calculations
Reconstitution is purely an exercise in concentration calibration: the volume of bacteriostatic water determines how much active peptide is carried in each syringe unit.
When working with standard U-100 insulin syringes (where 1 mL = 100 syringe units), use the following formula:
For detailed explanations of concentration versus mass, review our in-depth guide on how much bacteriostatic water to add to peptides, or calculate targets directly using our Peptide Calculator. Active protocols and freshness dates can be maintained seamlessly inside the Protocol Tracker Tool.
| Peptide Mass | Added BAC Water | Total Syringe Units | Potency Per Syringe Unit | Draw for 250 μg Target | Draw for 500 μg Target |
|---|---|---|---|---|---|
| 5 mg (5,000 μg) | 1.0 mL | 100 units | 50 μg / unit | 5 units | 10 units |
| 5 mg (5,000 μg) | 2.0 mL | 200 units | 25 μg / unit | 10 units | 20 units |
| 10 mg (10,000 μg) | 2.0 mL | 200 units | 50 μg / unit | 5 units | 10 units |
| 10 mg (10,000 μg) | 2.5 mL | 250 units | 40 μg / unit | 6.25 units | 12.5 units |
Reconstitution Nuances for Common Research Compounds
Different structural sequences present unique solubility behaviors during laboratory preparation:
- Tissue Repair Sequences: Peptides such as BPC-157 and TB-500 dissolve rapidly in standard bacteriostatic water within 30 to 60 seconds of gentle swirling. Adding 2.0 mL of BAC water to a 5 mg vial provides a clean 10-unit pull for a standard 250 μg test measure.
- Growth Hormone Secretagogues: Sequences such as Ipamorelin, Sermorelin, or Tesamorelin require strict adherence to temperature equilibration. If reconstituted while cold, these secretagogues can form persistent micro-aggregates that reduce biological receptor affinity.
- Metabolic & Mitochondrial Regulators: Complex metabolic peptides like MOTS-c, 5-Amino-1MQ, or next-generation incretins in our Best GLP-1 for Weight Loss Guide often demand larger fluid volumes (2.0 to 3.0 mL) to prevent viscous, hyper-concentrated solutions that are difficult to draw accurately.
- Delivery Routes & Cycle Planning: To determine appropriate administration depth and post-reconstitution testing blocks, reference our guides on Sub-Q vs. IM vs. Nasal Peptides and our Peptide Cycle Timing Guide.
Post-Reconstitution Cold-Chain Storage & Handling Standards
Once reconstituted into liquid form, a peptide's shelf life changes from years down to weeks. Maintain the following cold-chain standards to prevent loss of potency (detailed step-by-step in our Beginner's Guide to Peptides):
- Strict Refrigeration (2°C to 8°C): Reconstituted liquid peptides must be kept refrigerated at 36°F to 46°F. Never leave reconstituted vials at room temperature for extended durations.
- Do Not Re-Freeze Liquid Peptides: While dry lyophilized cakes are stable at -20°C, freezing reconstituted liquid creates water crystals that shear peptide chains. Repeated freeze-thaw cycles cause severe molecular aggregation and loss of potency.
- Light and Vibration Protection: Ambient ultraviolet light accelerates amino acid oxidation, and continuous mechanical vibrations (such as storage on an active refrigerator door shelf) can degrade delicate structures. Secure your reconstituted inventory inside a dedicated Peptide Vial Case or Compact Travel Case placed on a stable, middle refrigerator shelf.
- Monitor Visual Clarity: Fully dissolved, stable peptides form a crystal-clear, water-like liquid. If a solution appears cloudy, discolored, or shows visible floating particulates that do not dissolve after resting, the compound has likely denatured or suffered microbial contamination and must be discarded.
Reconstituting peptides accurately requires a clear understanding of aseptic technique, gentle mechanical handling, and precise solution mathematics. By using bacteriostatic water, controlling vacuum release along the vial wall, avoiding vigorous shaking, and storing dissolved solutions between 2°C and 8°C, researchers can safeguard peptide stability and protect experimental validity. Before preparing your next research batch, calculate your target draws with our Peptide Calculator to ensure reproducible results.
← View all peptide guides, research & protocols in our Blog Archive
Premium Collection
Explore selected research products.


One comment